


So this is not rocket science. It is just a fairly simple radio kit. I purchased it over a year ago on Amazon with the intention to build it with one of my grandkids when they were older. This week I decided to build it with my grandson, Colin.
https://www.amazon.com/gp/product/B0BRHB8J8M
I was quite surprised that this $7 kit produced quite a nice FM Stereo radio. While I did not have any problem building the kit, in retrospect I realized construction was not for the inexperienced. You need to identify the components. The Integrated Circuit is a 16 pin IC and is surface mounted. You need a very fine tip soldering iron and a bit of experience working with surface mount devices.
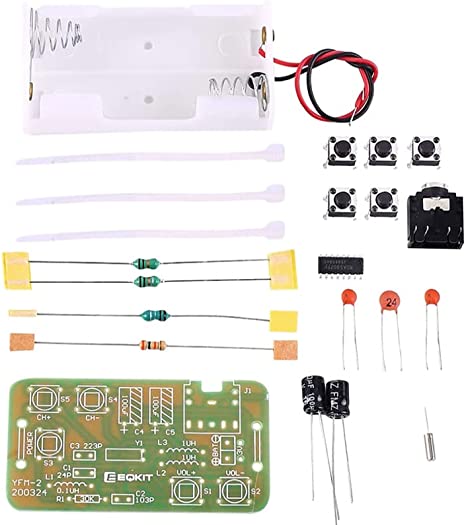
Here's what comes in the kit. There's an integrated circuit, a resistor, three inductors, five push button switches, five capacitors, a crystal, an earphone jack, a printed circuit board, a battery holder and some wire ties. There's no real assembly manual. The components and their values are printed on the board.
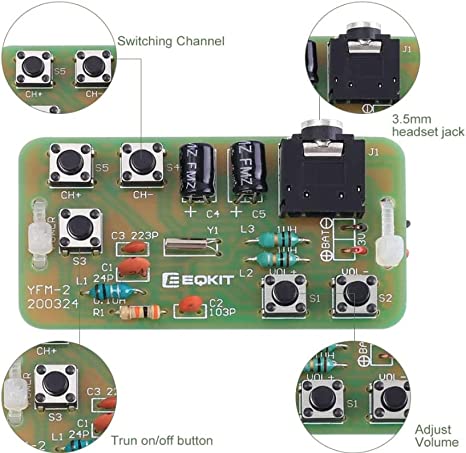
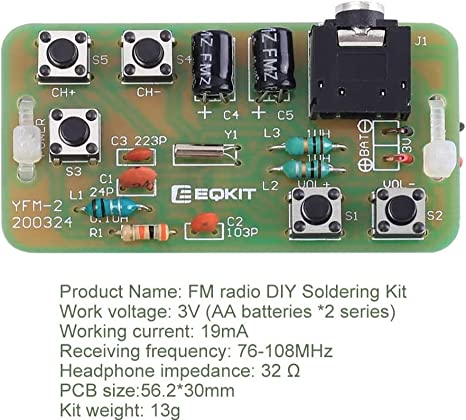
I was surprised to see that the radio was controlled only with the pushbuttons. There's a power button to turn the radio on and off. There are Volume Up and Volume Down buttons. There are channel up and channel down buttons. This is a neat channel-seeking tuner operation. Of course, for $7 you don't get a display to show the frequency or a case.
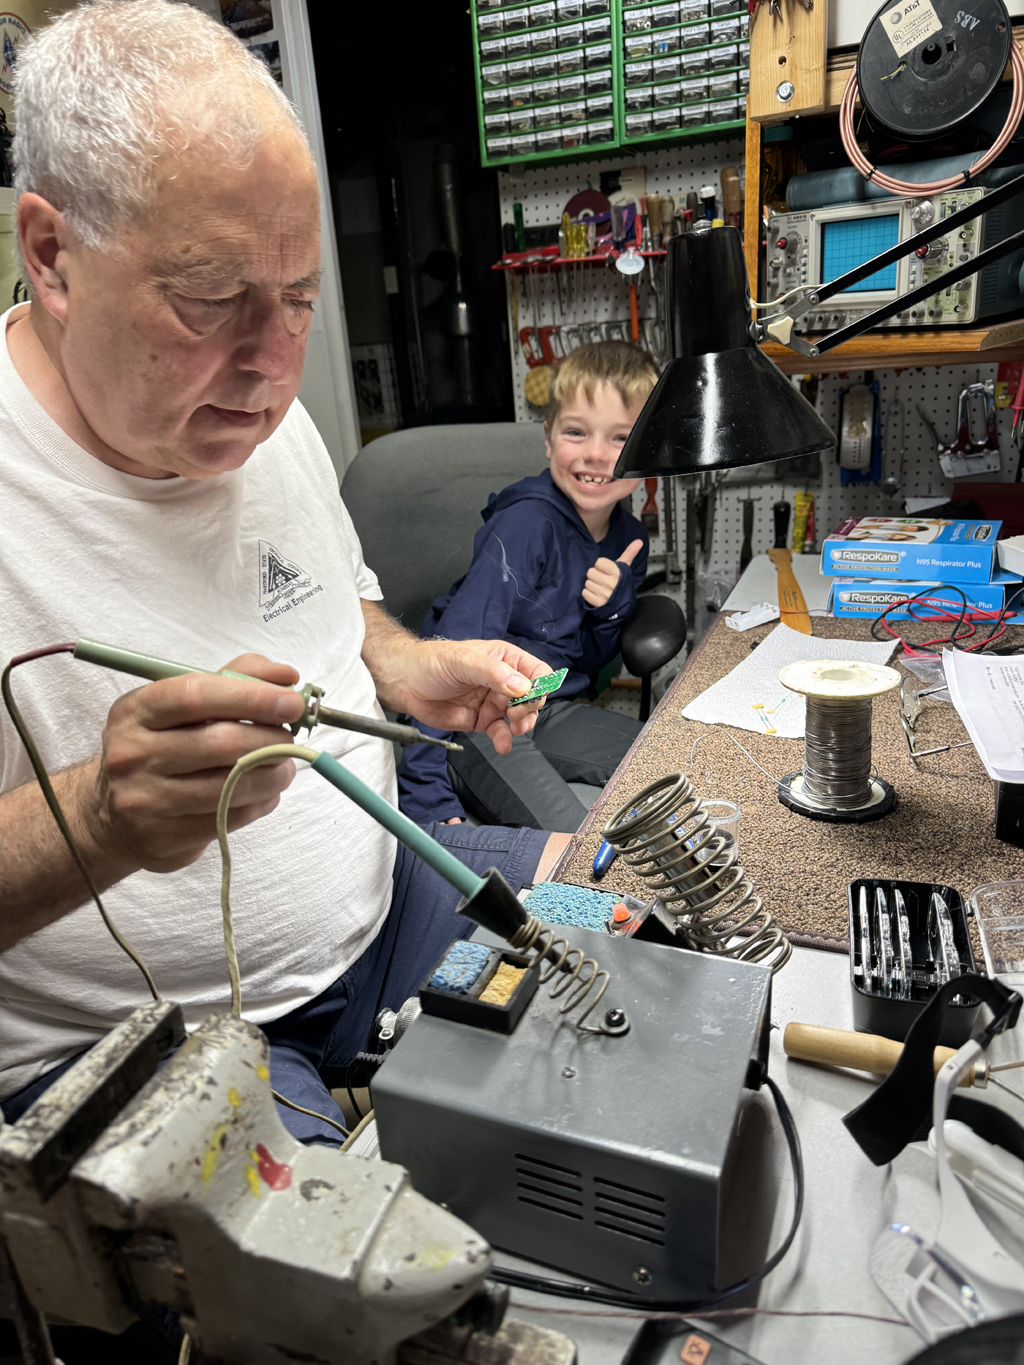
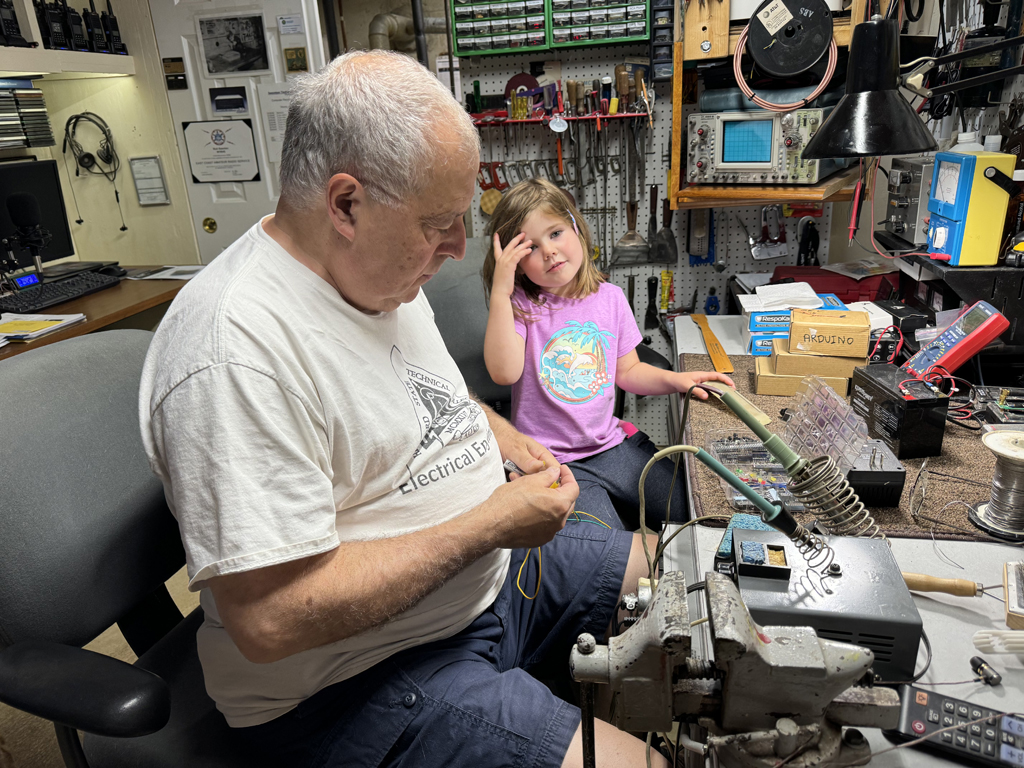
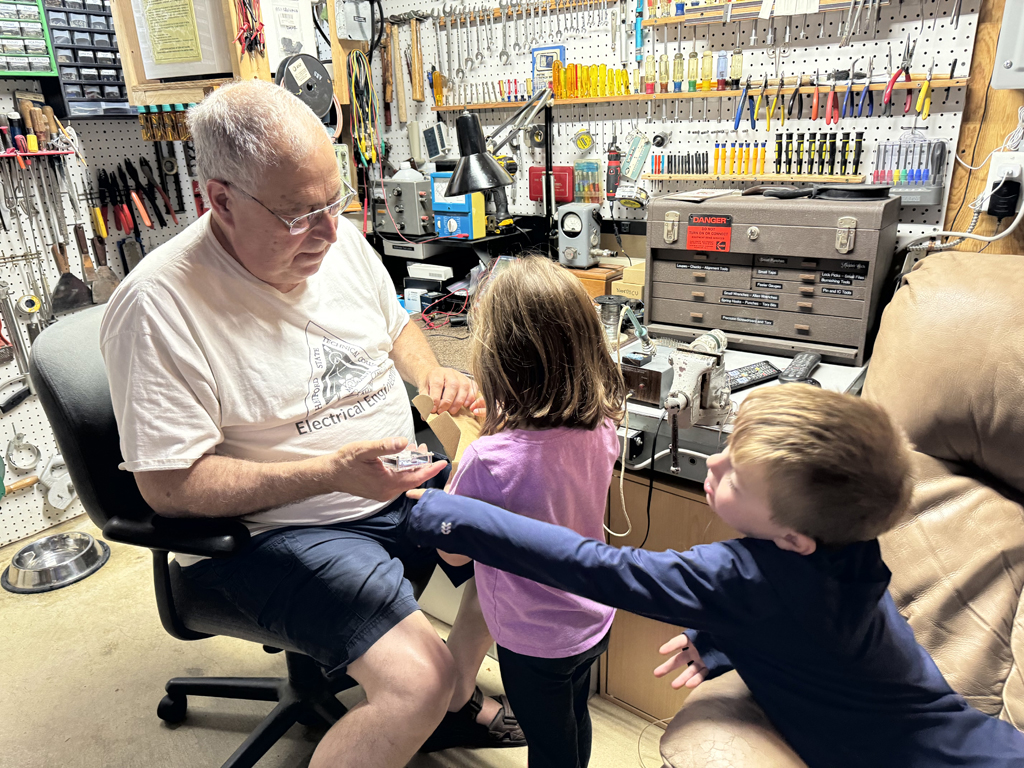
We had some detailed soldering to do. I had to remove my glasses to be able to focus.

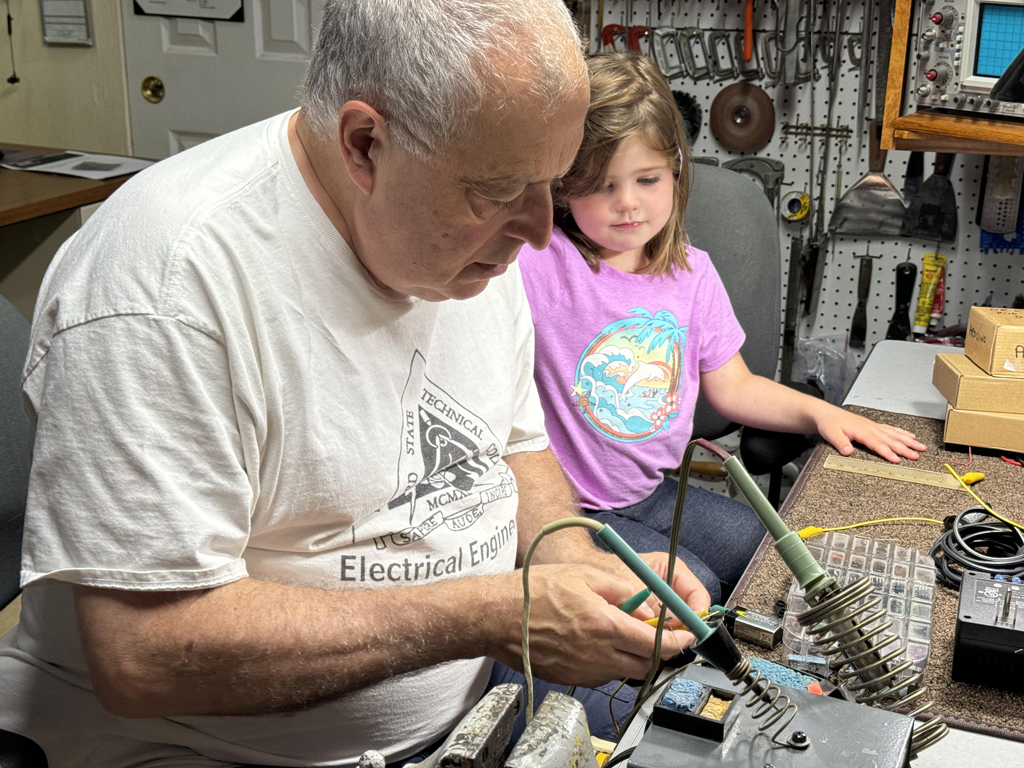
When we got to the point of soldering the surface mount IC I had to use a loupe, like a jeweler's eyepiece, to make sure the joints were clean and no connections bridged to the adjacent pads.
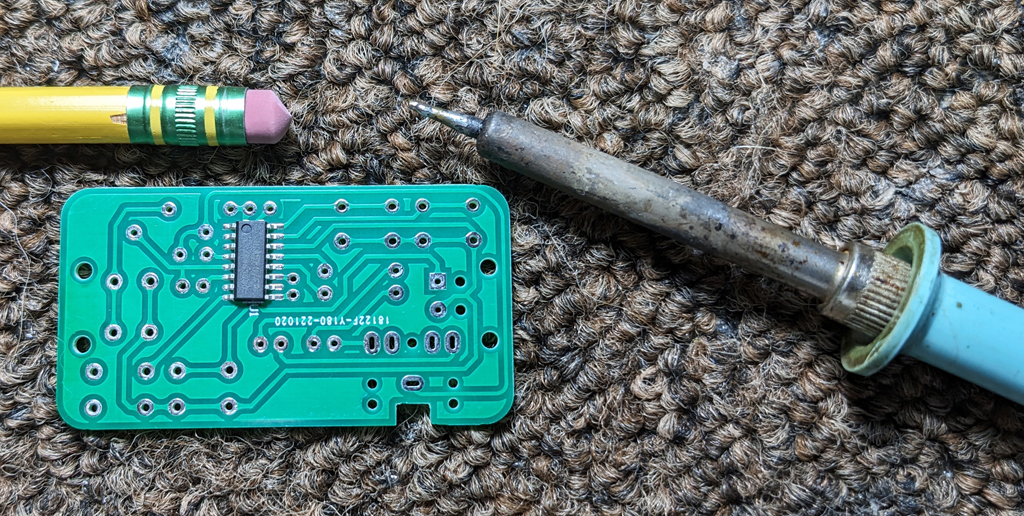
Here's a photo of the surface mount IC on the circuit board. Shown is the smallest soldering iron I had in comparison to an ordinary pencil.
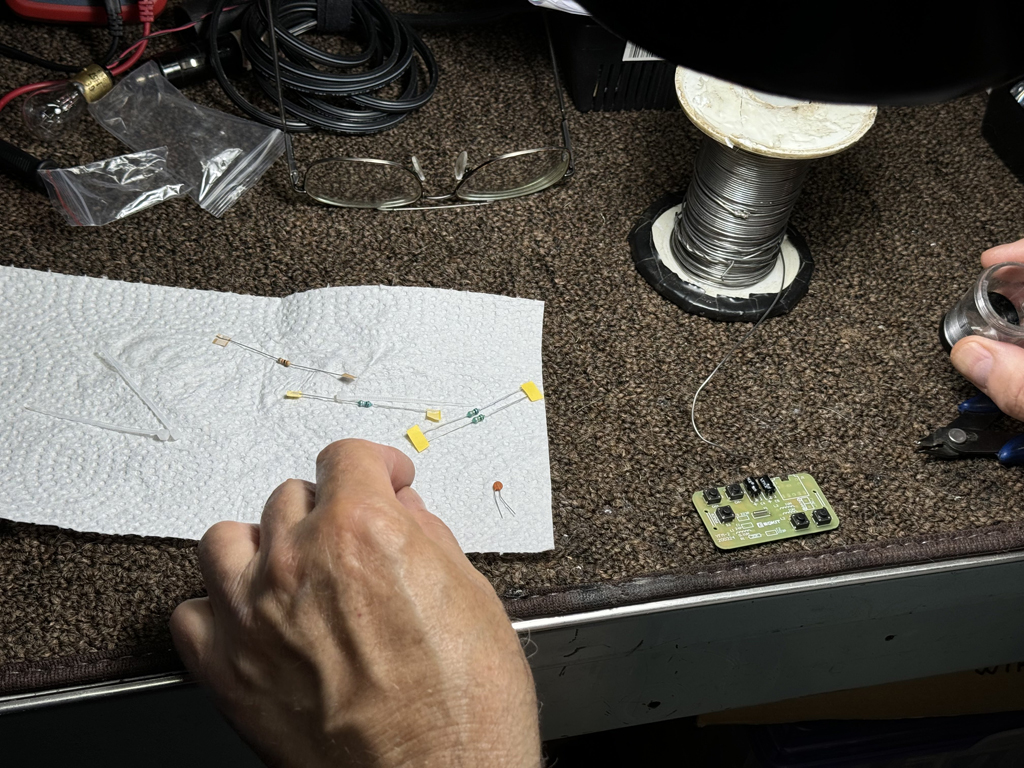
I laid out the components on a paper towel so they would not disappear in the bench carpet.
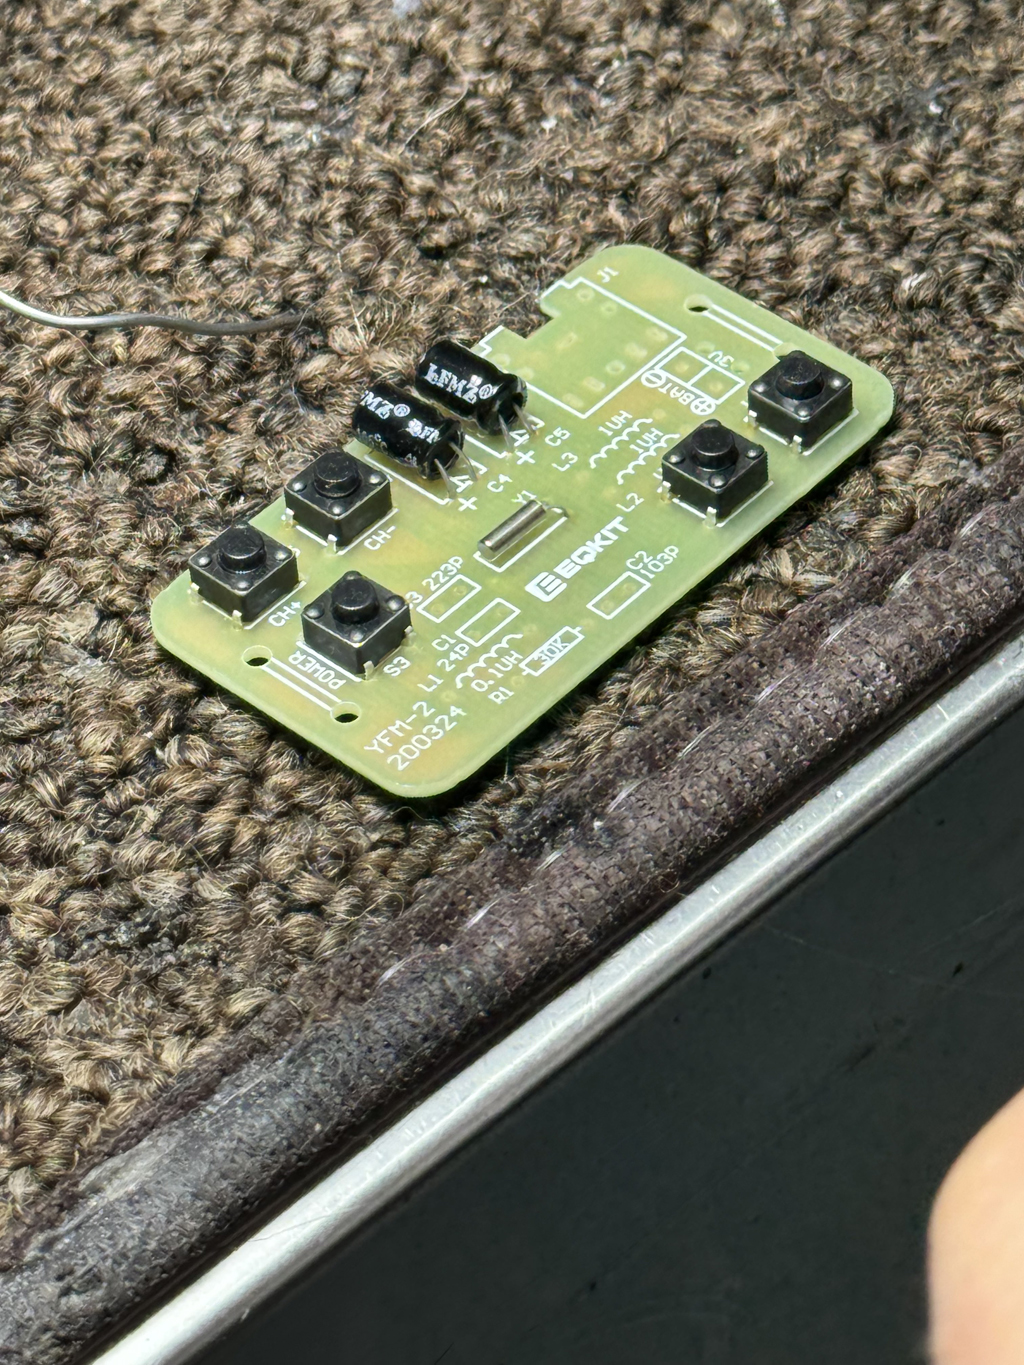
Switches, capacitor and crystal are mounted.
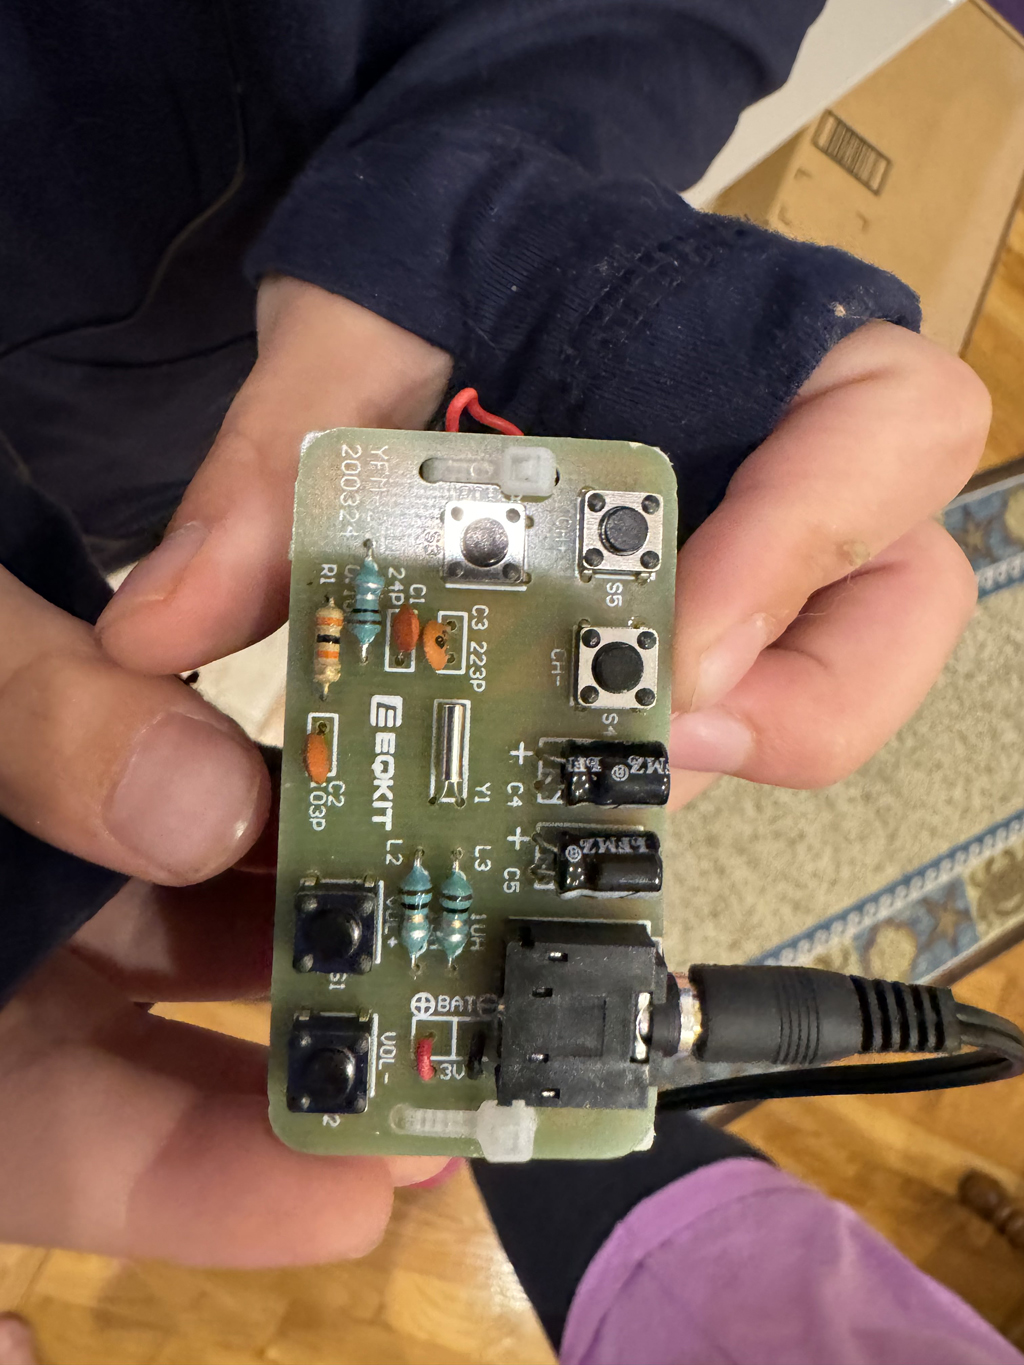
Here's the finished product with the circuit board zip-tied to the battery holder.
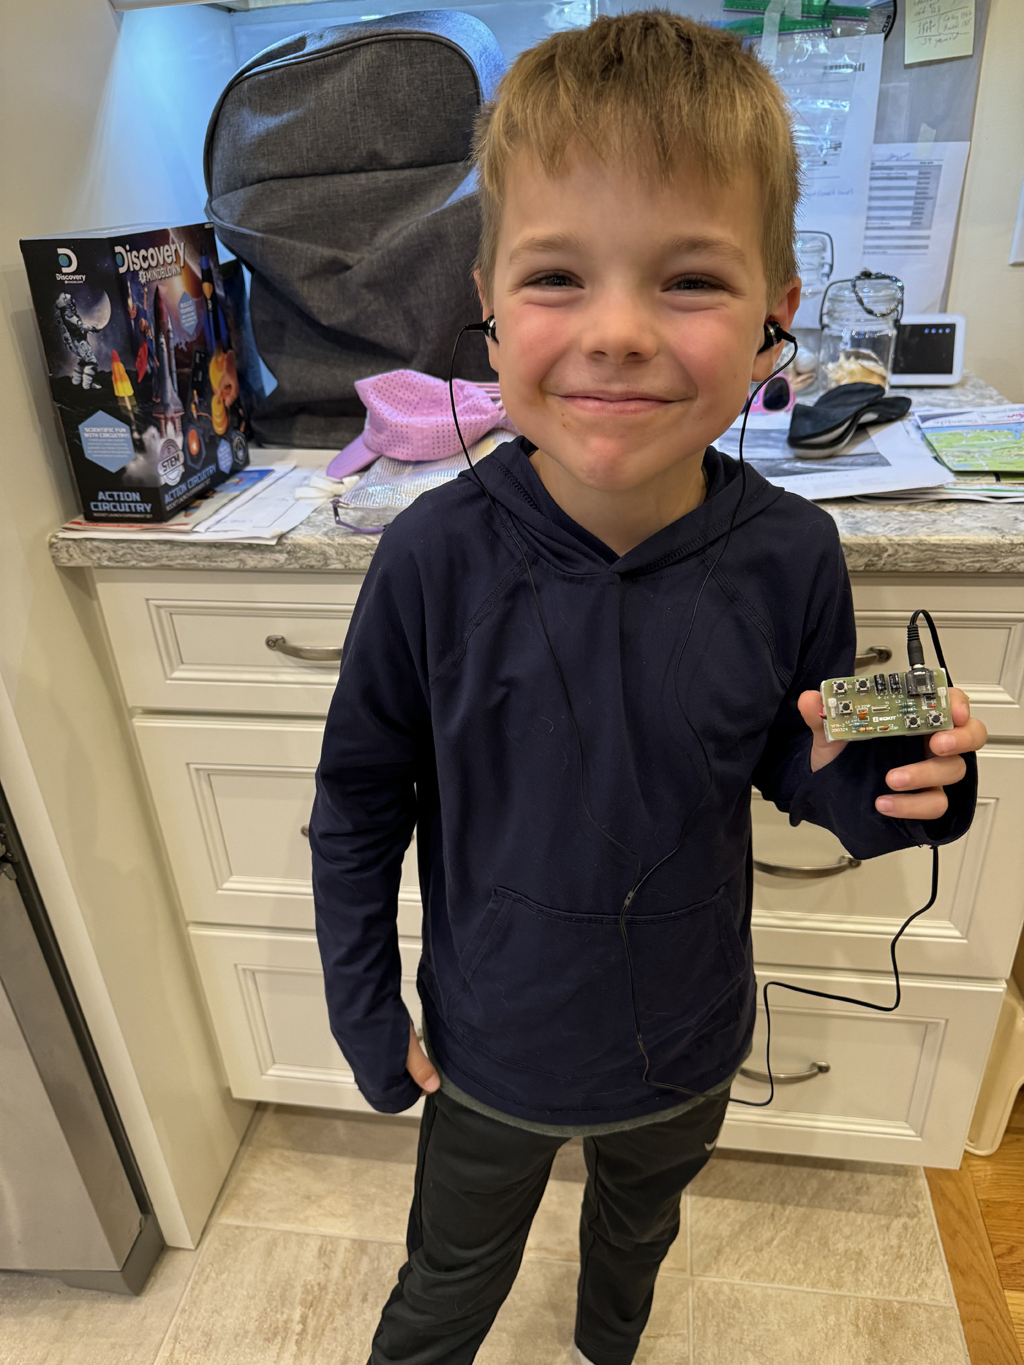
Colin proudly displaying the functioning radio as he listens to a radio station.
My next concern is that Colin's sister, Caitlin, wished that she had her own project. I had some tri-color LEDs so I decided to build her a three color LED flashlight.
The first step was to identify the function of the four wires on the LED. One would be common and the other three would be for Red, Green and Blue. Caitlin looked on intently as I lit up the colors.
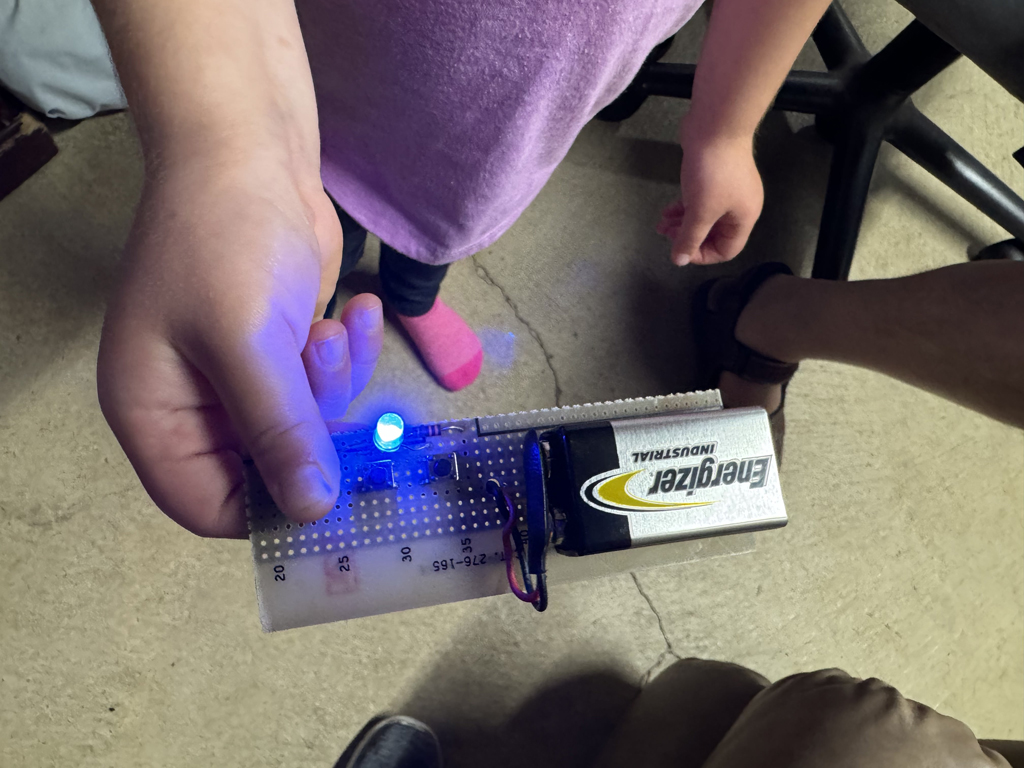
Using the Tri-Color LED, a resistor, three push button switches and a 9 volt battery we quickly cobbled together her project.
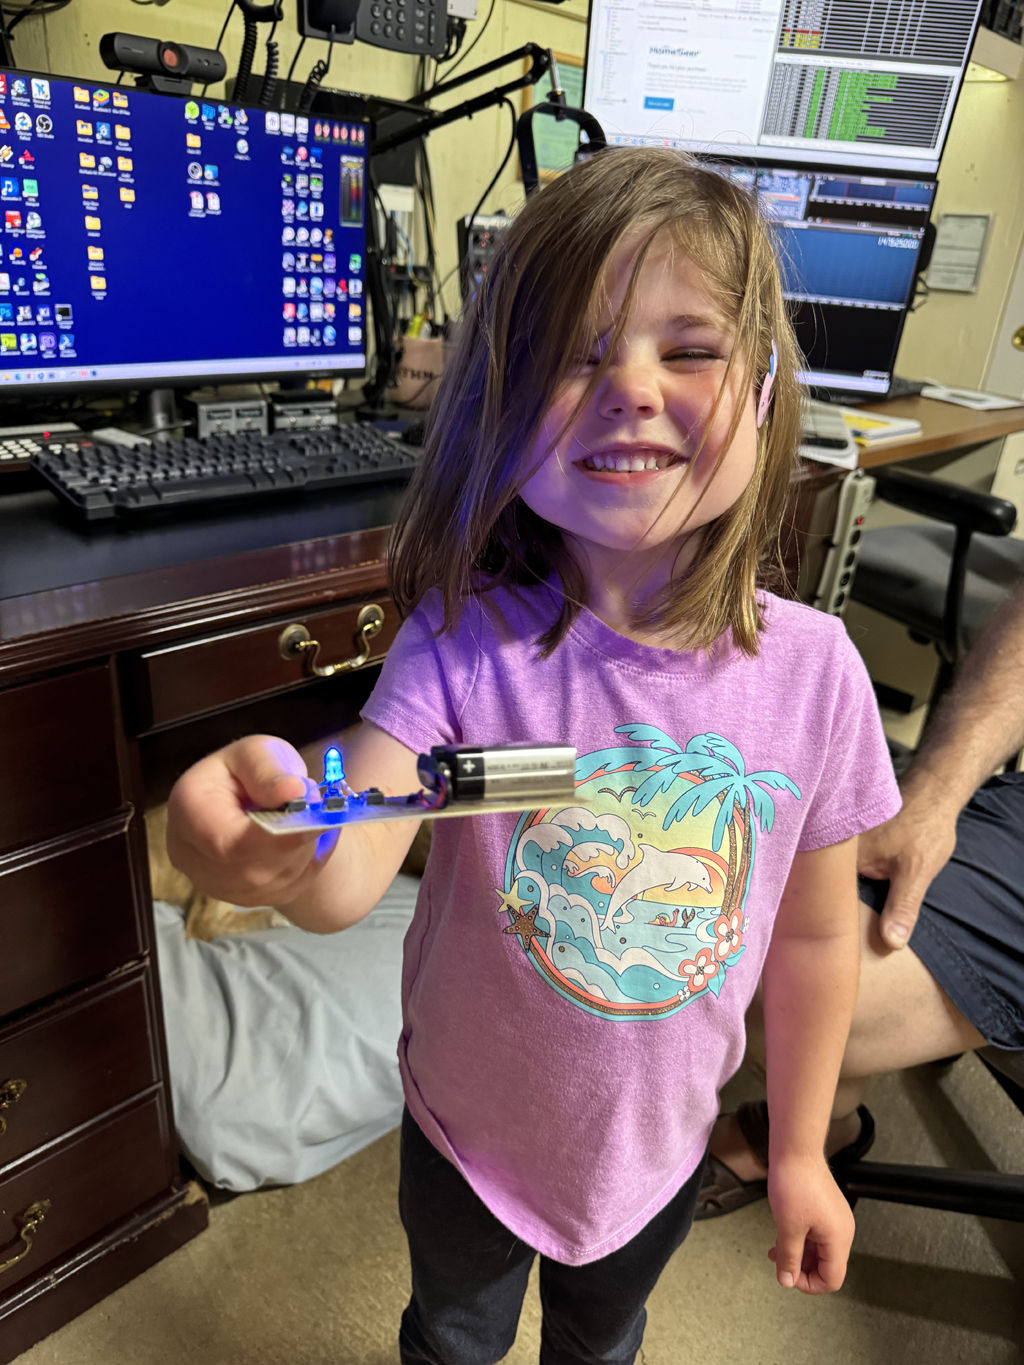
Caitlin proudly displays her new three color flashlight project.
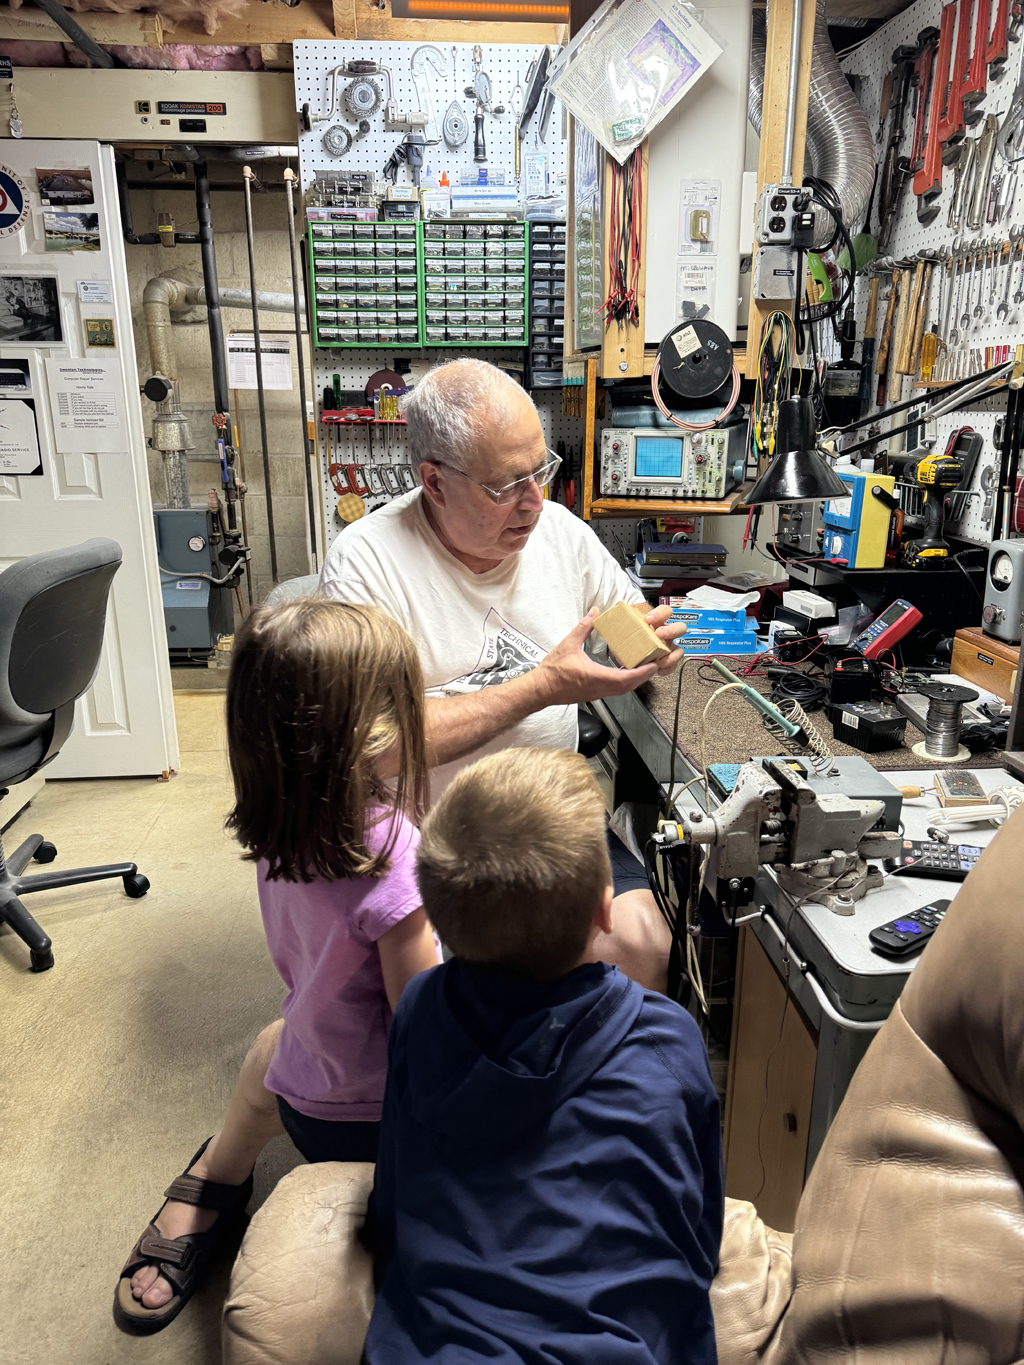
Of course, no project is complete without follow-up education. Colin was interested in projects that required coding because he was already involved in age-appropriate programming.
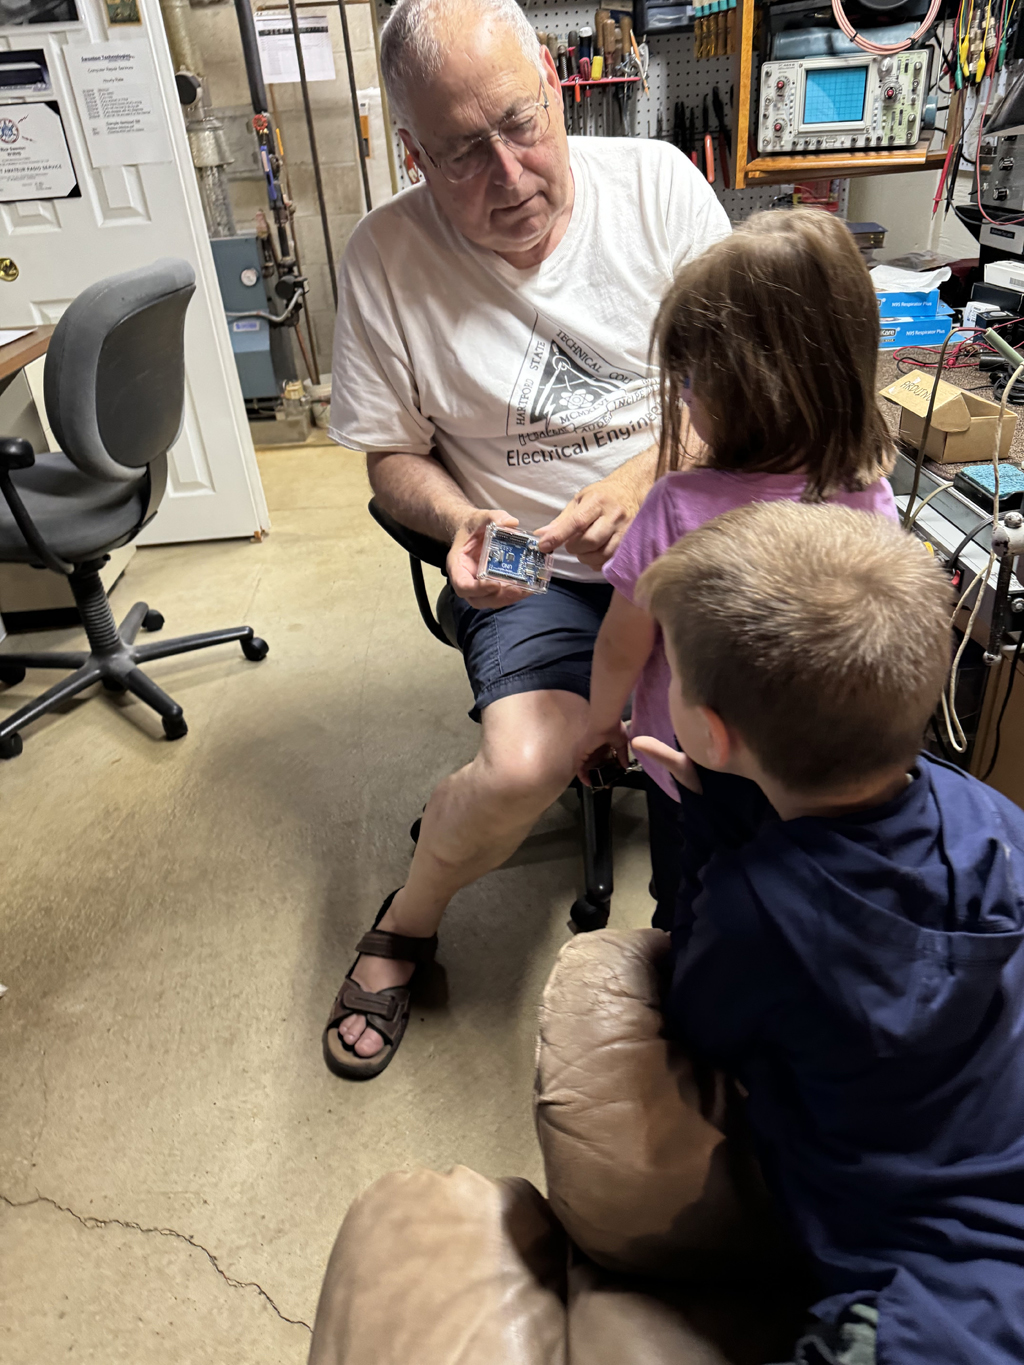
I had to break out an Arduino Uno to explain how we could attach Caitlin's tri-color LED and write a program to cycle through the colors.
Caitlin was very interested too. I guess it won't be long before Colin will be using the Arduino Integrated Development Environment on his home PC to write some programs.